
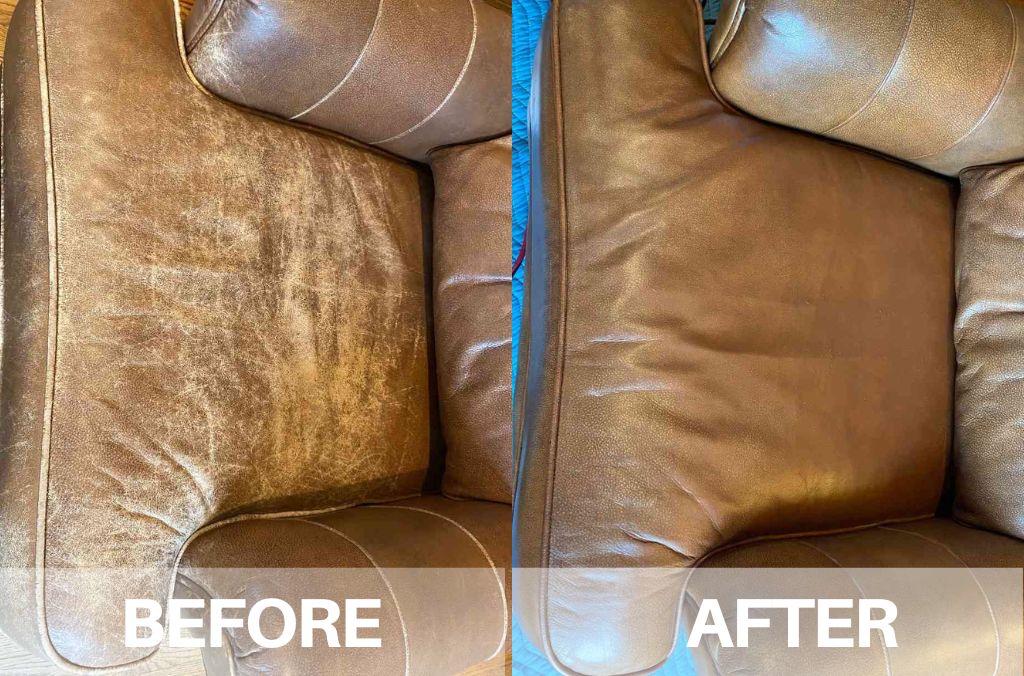
Is your leather sofa or ottoman showing signs of wear and tear? Don’t worry! With the right products and techniques, you can restore it to its former beauty. In this guide, we’ll walk you through the process of dyeing and restoring leather furniture, ensuring it looks as good as new.
Best Products for Leather Restoring & Dyeing!
- BEST OVERALL DYING PRODUCT: The Original Leather Recoloring Balm (COMES IN ALL COLORS)
- BEST LEATHER CONDITIONER: Leather Honey Leather Conditioner
- GREAT FOR CARS, JACKETS, FURNITURE: Leather CPR | 2-in-1 Leather Cleaner & Leather Conditioner
- BEST FOR SCRATCHES AND CRACKS: Chamberlains Balm Conditioner & Cleaner for Leather – Heals, Restores and Repairs Dry, Cracked, Scratched Leather
- PRODUCT OUR TECHS USE DAILY: Natural Leather Care Kit (FREE SHIPPING)
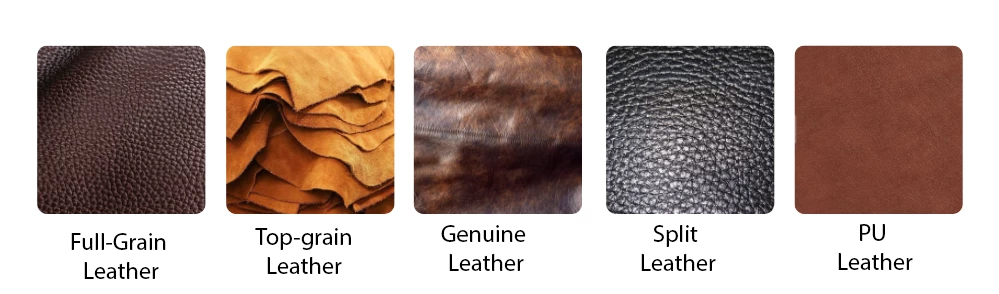
Step 1. Understanding Leather Grain Types:
- Full Grain Leather:
- Full grain leather, considered the highest quality, retains the natural imperfections of the hide’s top layer, aging beautifully over time.
- Top Grain Leather:
- Top grain leather, similar to full grain but with minimal processing to remove imperfections, offers durability and a more consistent appearance.
- Genuine Leather:
- Genuine leather encompasses various types, indicating authenticity but not necessarily the highest quality, providing versatility for different applications.
- Split Leather:
- Split leather, derived from the lower layers of the hide, offers a suede-like texture and is commonly used in applications where cost is a primary consideration.
- PU Leather (Faux Leather):
- PU leather, a synthetic alternative, mimics the appearance and texture of genuine leather, offering affordability and versatility for various uses.
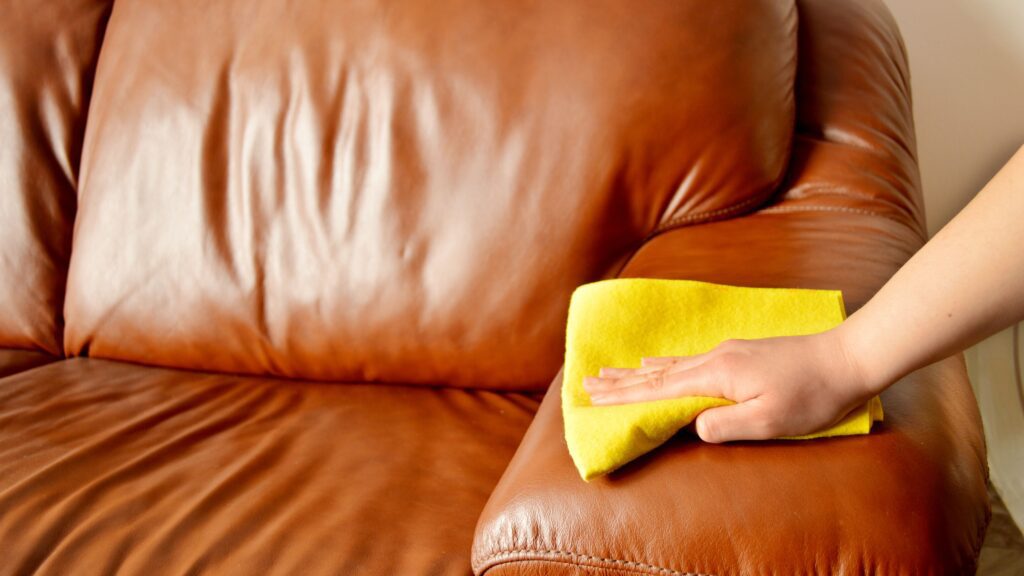
Step 2. Preparing the Leather for Dyeing
Before applying any dye, it’s crucial to prepare the leather surface properly. Start by cleaning the leather with a mild soap and water solution to remove any dirt or grime. For stubborn stains or discoloration, consider using a leather cleaner or conditioner specifically designed for the type of leather you’re working with. Once the surface is clean, sanding and buffing can help smooth out any imperfections and create a more uniform surface for dyeing.
Step 3. Choosing the Right Dye For Your Leather Sofa
Selecting the appropriate dye is essential for achieving the desired color and finish. Aniline dye penetrates the leather to produce a transparent, natural-looking finish, while pigmented dye sits on the surface and provides more coverage and color consistency. Oil-based dyes offer durability and water resistance, making them suitable for high-traffic areas, while water-based dyes are more environmentally friendly and easier to clean up.
Step 4. Applying the Dye To Leather
Once you’ve chosen the right dye, it’s time to apply it to the leather surface. Start by testing the color on a small, inconspicuous area to ensure it matches your expectations. Using a sponge or brush, apply the dye in thin, even coats, allowing each layer to dry completely before applying the next. Multiple coats may be necessary to achieve the desired depth of color, so be patient and allow sufficient drying time between applications.
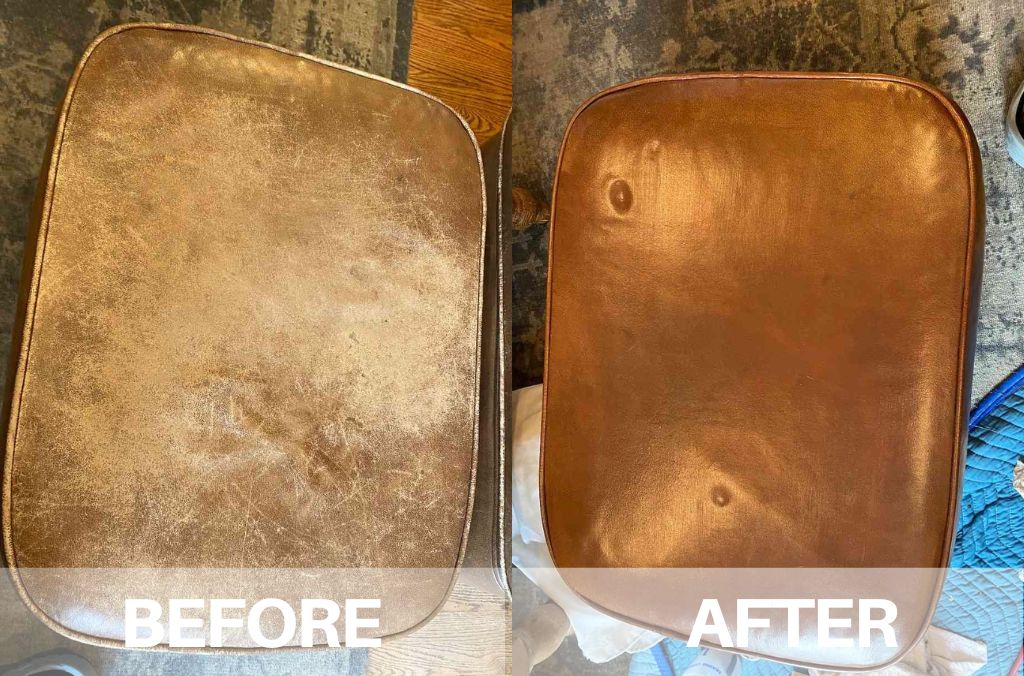
Step 5. Restoring and Conditioning Leather
After dyeing the leather, it’s essential to restore and condition it to protect against future damage and maintain its appearance. Apply a leather conditioner or moisturizer to nourish the leather and prevent it from drying out or cracking. Buff and polish the surface to enhance its shine and smoothness, using a clean, soft cloth or brush. Finally, consider applying a protective finish or sealant to help prolong the life of the dye and keep the leather looking its best for years to come.
FAQs:
Can I Dye My Leather Furniture Myself?
Yes, you can dye your leather furniture yourself using the right products and techniques. However, for best results, it’s recommended to seek professional assistance, especially if you’re dealing with valuable or antique furniture. Check out the products listed at the top for recommended products for each part of the process.
Will Dyeing My Leather Furniture Change Its Texture?
Dyeing your leather furniture should not significantly alter its texture if done correctly. However, it’s essential to choose a dye that is suitable for your type of leather and follow the application instructions carefully.
How Long Does the Dyeing Process Take?
The time it takes to dye and restore leather furniture depends on several factors, including the size of the piece, the type of leather, and the drying time between coats. In general, you can expect the process to take a few hours to a couple of days.
How Can I Maintain My Dyed Leather Furniture?
To maintain your dyed leather furniture, avoid placing it in direct sunlight or near heat sources, as this can cause the dye to fade or crack over time. Regularly clean and condition the leather to keep it looking its best.
Can I Dye Leather That Is Already Colored?
Yes, you can dye leather that is already colored, but keep in mind that the existing color may affect the final result. It’s essential to choose a dye that is darker than the current color or opt for a professional color matching service for best results.